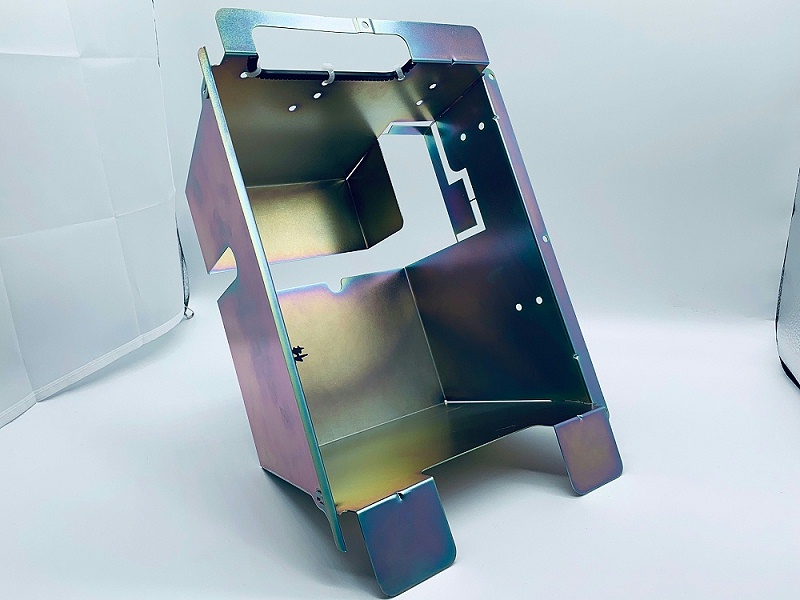
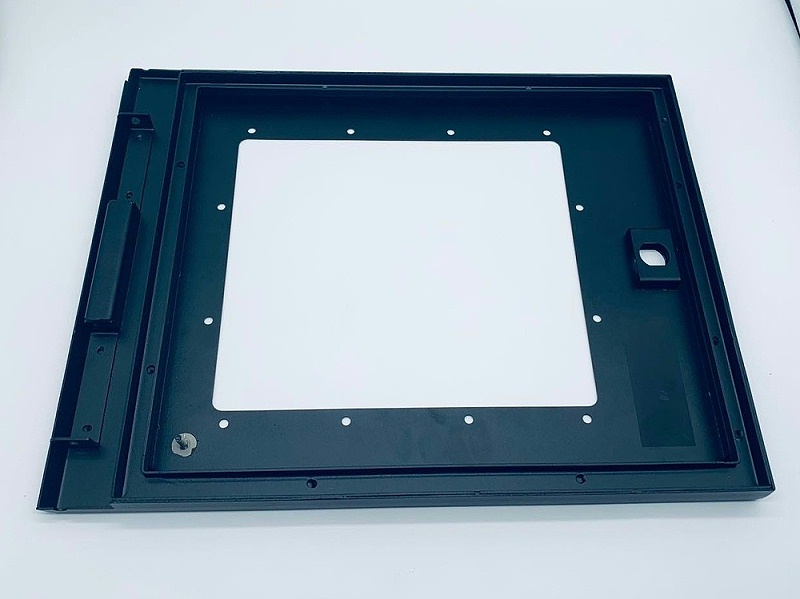
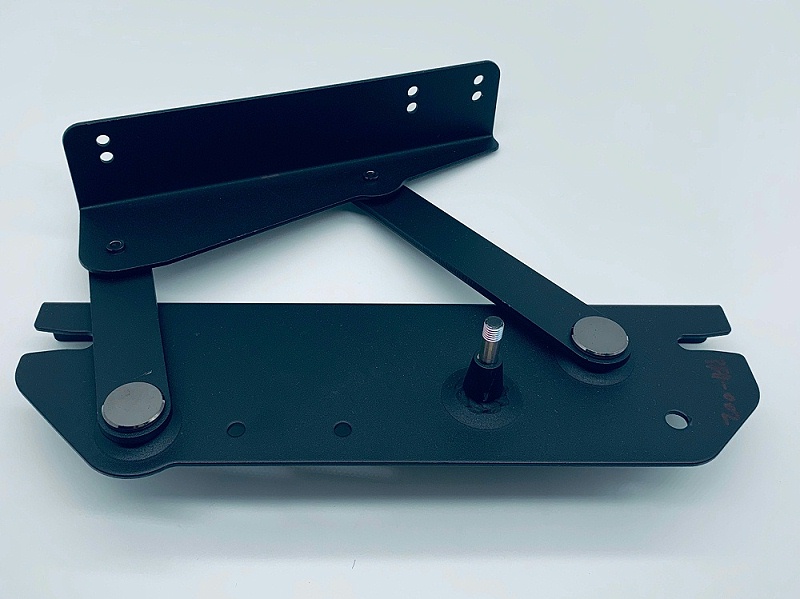
Sheet metal processing is the most commonly used metal processing way, in the process of parts machining, the machining accuracy of due to mechanical equipment, mold wear, machining error factors influence, production of sheet metal parts size could not be absolutely accurate, in order to ensure availability of artifacts, we must put the tolerance limit of sheet metal workpiece to a minimum. So what are the common tolerance standards in sheet metal processing? How do you mark it? Today's maintenance xiaobian will share with you.

Standard tolerance for sheet metal processing
1. Basic size
According to the strength and structural requirements of parts, determine the size determined in the design. Standard diameter or length should be preferred.
2. Actual size
The size obtained by measurement.
3, limit size
Two thresholds to allow size changes. It's based on basic size. The larger of the two limits is called the maximum limit size; The smaller is called the minimum limit size.
4. Size deviation (referred to as deviation)
The algebraic difference obtained by subtracting the base size of a dimension. The size deviation is as follows:
Upper limit of deviation = maximum limit size - basic size.
Lower limit of deviation = minimum limit size - basic size
The up and down deviation is called the limit deviation, and the up and down deviation can be positive, negative, or zero.
According to the national standard, the upper deviation code of the hole is ES, the lower deviation code is EI, the upper deviation code of the shaft is ES, the lower deviation code of the shaft is EI.

5. Dimensional tolerance (tolerance for short)
Allowable variation in size.
Dimensional tolerance = maximum limit size - minimum limit size = upper deviation - lower deviation
Since the maximum limit size is always greater than the minimum limit size, i.e. the upper deviation is always greater than the lower deviation, the dimensional tolerance must be positive.
6, standard tolerance and standard tolerance class
A standard tolerance is any tolerance listed in a national standard used to determine the size of the tolerance zone. The standard tolerance class is the class that determines dimensional accuracy. Standard common difference 20 grades, namely IT01, IT0, IT1, IT-18, represents the standard tolerance, Arabic numerals represents the standard tolerance grade, among which IT01 grade is the highest, the grade is successively lower, IT18 grade is the lowest. For a certain basic dimension, the higher the standard tolerance grade, the smaller the standard tolerance value, the higher the dimension accuracy.
7. Basic deviation
Used to determine the upper and lower deviations of the tolerance area relative to the zero line. It usually refers to the deviation near the zero line
8. The shaft tolerance code and the standard tolerance class code are composed of two parts and written with the same number.

